
MeenakshiSteel Traders
By Teja | May 15, 2026 | 6 min read
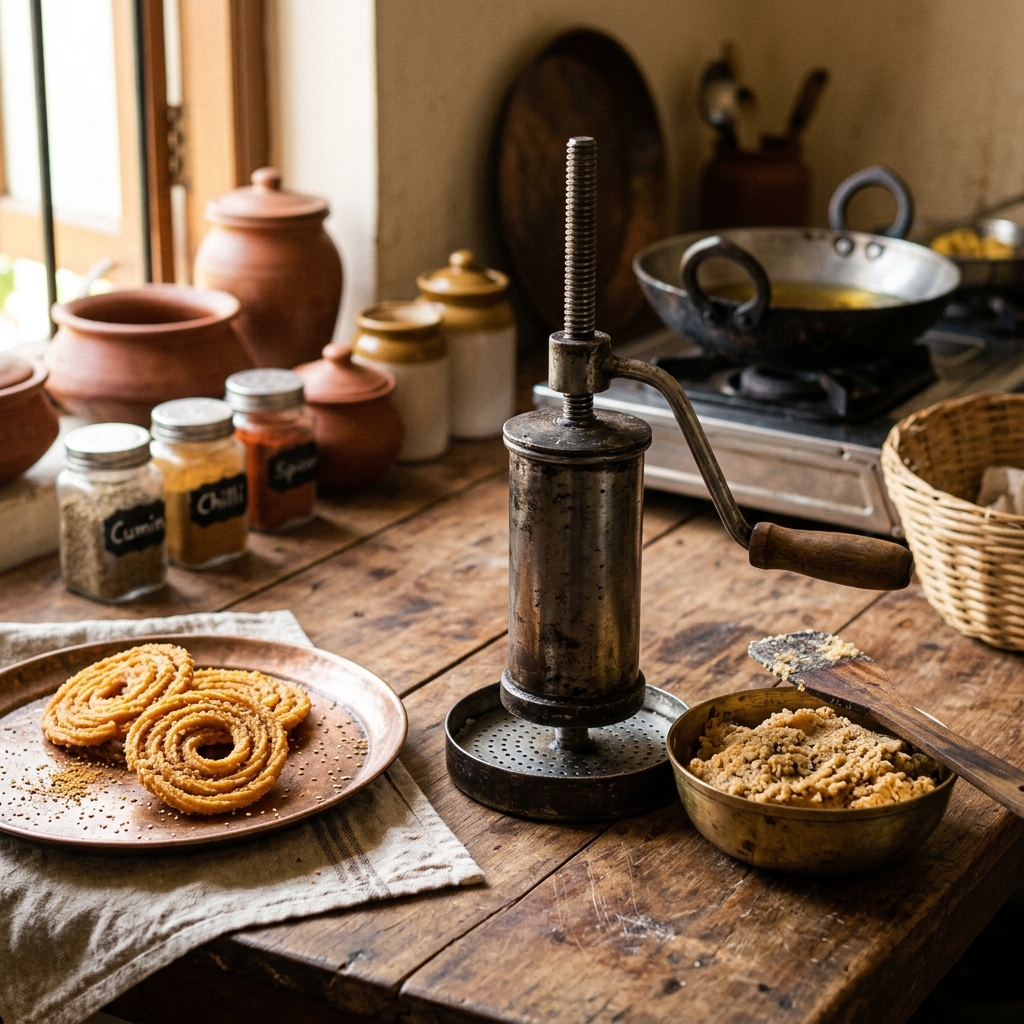
Festivals in India—be it Diwali, Sankranti, or Janmashtami—are incomplete without the sounds of sizzling oil and the irresistible aroma of freshly fried snacks. At the heart of this festive culinary magic lies a simple, ingenious tool: the Kitchen Press, also known as a Murukku Maker, Sev Sancha, or Chakli Press. While modern technology has revolutionized the kitchen, the mechanical kitchen press remains irreplaceable. It is the secret behind perfectly shaped, uniform, and crispy traditional snacks. Let's dive deep into mastering the Deluxe Kitchen Press and explore how to achieve perfect Murukku and Sev every single time.
Before you begin pressing dough, it’s important to understand your tool. A high-quality deluxe kitchen press typically comes in heavy-duty stainless steel or traditional brass. It consists of a cylindrical body to hold the dough, a rotating or lever-based handle to apply pressure, and an interchangeable bottom plate called a 'Jali' (disc). The Jali determines the shape and thickness of the snack. A premium set, like the ones offered at Meenakshi Steel Traders, includes up to 15 different Jali plates, allowing you to create thin nylon sev, thick gathiya, star-shaped chaklis, flat ribbon pakodas, and even idiyappam (rice noodles). The heavy-duty nature of a deluxe press ensures that even dense doughs can be pushed through smoothly without breaking the machine's threads.
The single most critical factor in using a kitchen press successfully is the consistency of your dough. A kitchen press is designed to handle soft, pliable dough. If your dough is too stiff, it will require immense physical strength to press, and the snacks may break as they emerge from the Jali, or worse, you could strip the threads of the press. Conversely, if the dough is too watery, it will lose its shape the moment it touches the hot oil, resulting in a clumped mess rather than defined spirals.
The Secret Test: For Chakli and Murukku, the dough should feel like soft modeling clay. It should be non-sticky but completely smooth. A great tip is to knead the dough with warm water and a tablespoon of hot oil (moyan). The hot oil creates a flaky, crispy texture in the final fried product, while the warm water ensures the rice flour binds well. Always keep the dough covered with a damp cloth to prevent it from drying out while you fry in batches.
To ensure a seamless flow, always prepare your kitchen press before loading the dough. Take a few drops of cooking oil and thoroughly grease the inner walls of the cylinder, the bottom screw cap, and the Jali you intend to use. This simple step minimizes friction, making it significantly easier to press the dough out, especially when you are making large batches during festivals. It also makes the post-cooking cleanup much easier, as dried dough won't stick stubbornly to the metal walls.
Different Jali attachments require slightly different pressing techniques. Let's look at the two most popular snacks:
Murukku / Chakli (Star-shaped Jali): When making Chakli, do not press the dough directly into the hot oil. Instead, lay down a clean, greased stainless steel plate, a banana leaf, or parchment paper. Hold the press vertically, apply steady pressure, and move your hand in a slow circular motion to create a spiral. Once you reach the desired size, break the dough and gently pinch the end to the adjacent spiral so it doesn't unravel while frying. Carefully slide the formed chakli into the hot oil using a flat spatula.
Sev / Bhujia (Fine mesh Jali): For thin sev, you will press directly into the hot oil. Ensure the oil is hot (test with a small pinch of dough; it should rise immediately without browning too fast). Hold the press about 4-5 inches above the kadai. Squeeze the handle continuously while moving your hand in a wide circular motion over the oil to spread the sev out evenly. Stop pressing and break the flow with a knife or your finger before the pan gets too crowded. Fry until the bubbling subsides, which indicates the moisture has evaporated and the sev is crispy.
No matter how perfect your dough or your press is, frying at the wrong temperature will ruin your snacks. If the oil is too cold, the Murukku will absorb excess oil and become soggy and heavy. If the oil is too hot, the exterior will turn dark brown while the interior remains uncooked and doughy. Maintain a steady medium-high heat. A good rule of thumb is that the oil should sizzle and form bubbles around the snack instantly, but the browning process should take a few minutes, allowing the inside to cook through.
A Deluxe Kitchen Press is a generational tool if maintained correctly. After you are done making your snacks, dismantle the press immediately. Soak the cylinder, the handle, and the Jali plates in warm, soapy water for 15 minutes. This softens any residual dough stuck in the fine holes of the Jali. Use a soft brush (an old toothbrush works wonders) to scrub the tiny crevices of the Jali plates. Rinse thoroughly and, most importantly, wipe everything completely dry before storing. If you have a brass press, occasionally polish it with a mixture of tamarind and salt to keep it shining like new.
Mastering the Deluxe Kitchen Press connects you directly to the culinary traditions of your ancestors. There is an unmatched joy and pride in serving a plate of perfectly crisp, golden, home-made Murukku to your family and guests. With the right heavy-duty equipment from Meenakshi Steel Traders, the right dough consistency, and a little bit of practice, you will never need to rely on store-bought festival snacks again. Embrace the art of the press, and let the festive cooking begin!